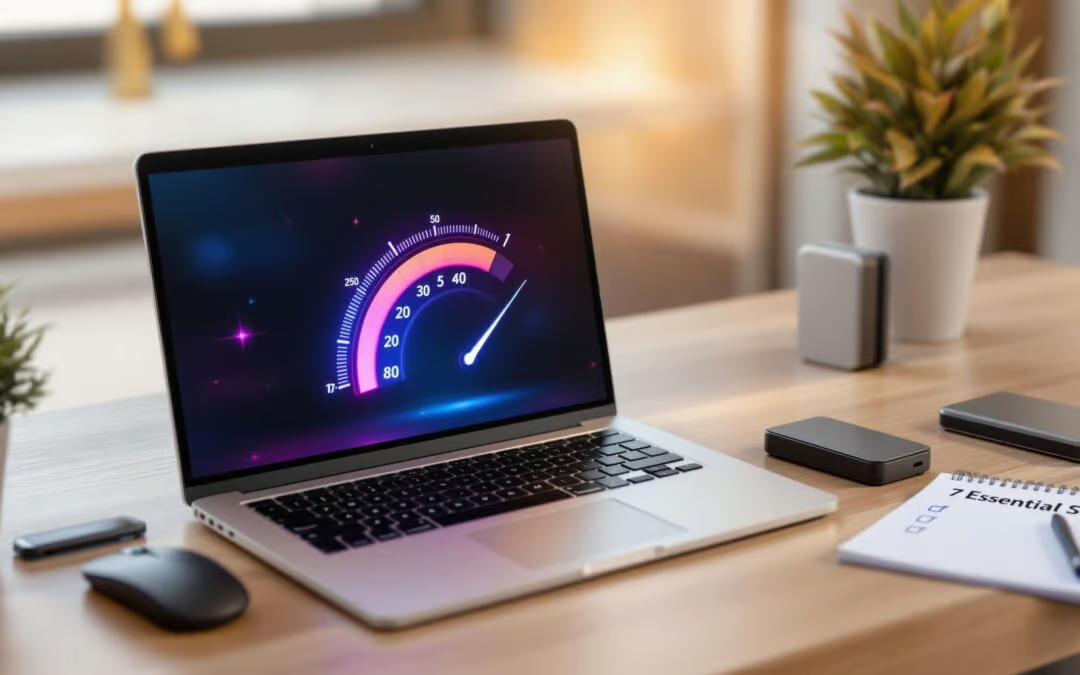
A sluggish Windows PC can be frustrating, but the good news is, you can speed it up with a few simple steps. Here’s a quick summary of what you can do:
- Remove Unnecessary Files: Use Disk Cleanup, uninstall unused programs, and clear browser data.
- Control Startup Programs: Disable apps that slow down startup using Task Manager or Autoruns.
- Keep Software Updated: Install the latest Windows updates and device drivers regularly.
- Check for Malware: Run scans with Windows Defender or other antivirus software.
- Reduce Visual Effects: Adjust settings for better performance, especially on older PCs.
- Organize Your Drive: Defragment HDDs and maintain SSDs properly.
- Upgrade Hardware: Add more RAM or switch to an SSD for a significant performance boost.
These steps are easy to follow and can make a noticeable difference in your PC’s speed. Whether it’s clearing out junk files, optimizing startup programs, or upgrading hardware, you’ll have your computer running like new in no time.
How To Make Your PC Fast in 10 Minutes
Step 1: Remove Unnecessary Files
A cluttered hard drive can slow down your PC. Follow these steps to clear out the junk and free up space.
Run Windows Disk Cleanup
Search for "disk cleanup" in the Windows search bar, choose drive C:, and click on "Clean up system files." This will get rid of update files, temporary files, downloaded files, and items in the Recycle Bin.
Make it a habit to run Disk Cleanup regularly to keep your PC running smoothly.
Uninstall Unused Programs
Go to Settings > Apps > Apps & Features and review the programs installed on your system. Sort them by last used date, size, or performance impact. Once you’ve identified unnecessary programs, uninstall them using the built-in Windows uninstaller.
Clear Browser Data
Clearing your browser cache, cookies, and history can make a difference. Aim to clear the cache and cookies monthly, and delete your browsing history as needed [2].
Pro Tip: Turn on Storage Sense in Windows. This feature automatically deletes temporary files and empties the Recycle Bin on a schedule, saving you the hassle of doing it manually [1].
Keep in mind, clearing these files might make some websites load slower the first time you visit them again, but the performance boost for your PC is worth it.
Next, take control of startup programs to further enhance your PC’s speed and efficiency.
Step 2: Control Startup Programs
Having too many programs launch automatically can slow down your PC’s startup and overall performance.
Manage Startup Items with Task Manager
Windows Task Manager makes it easy to decide which programs should start with your system. Here’s how to do it:
- Right-click the Start button and choose "Task Manager" (or press Ctrl + Shift + Del).
- Go to the Startup tab to see all programs set to launch at startup.
- Check the Startup impact column, which rates each program as High, Medium, or Low based on its effect on boot time.
- Right-click any program you don’t need to run at startup and click Disable.
Tip: Start by disabling programs labeled as "High impact." These typically include update checkers, chat apps, cloud sync tools, or media assistants, which can noticeably improve boot time.
For more advanced control, consider using a specialized tool like Autoruns.
Use Autoruns for Advanced Startup Management
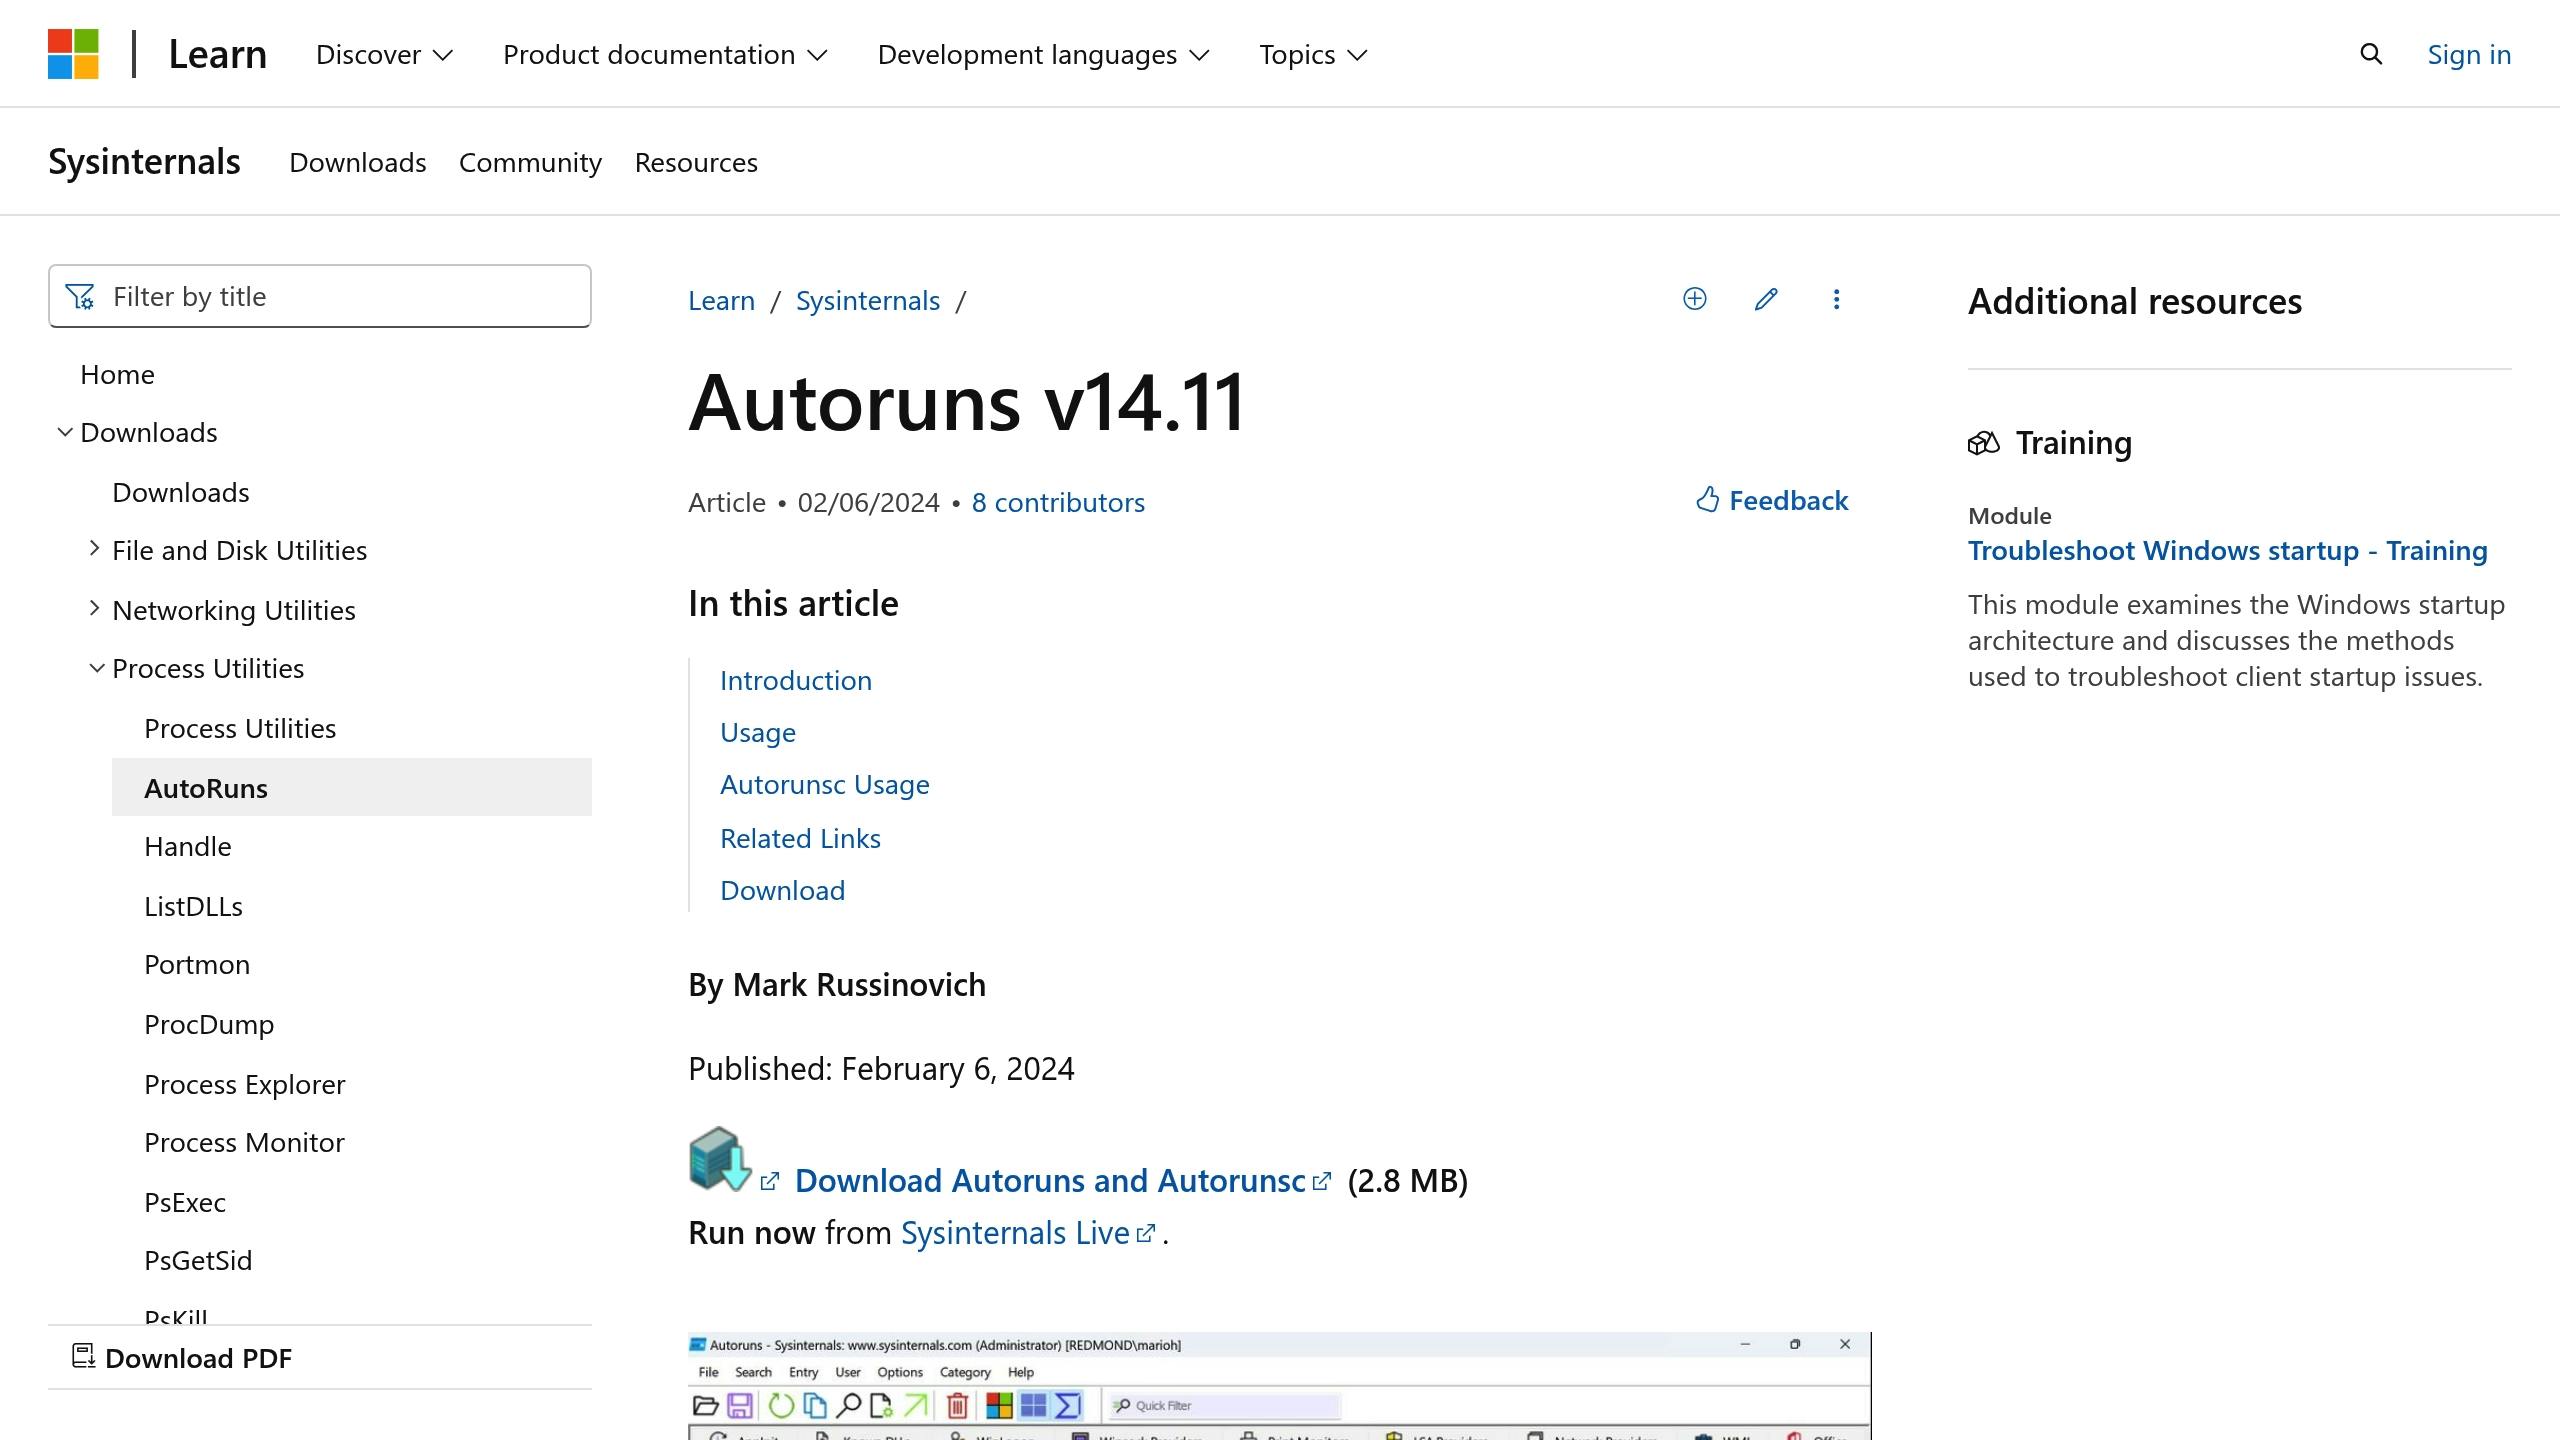
If you want deeper control, Microsoft’s free Autoruns tool is a powerful option. According to Microsoft:
"Autoruns has the comprehensive knowledge of auto-starting locations of any startup monitor, shows you what programs are configured to run during system boot up or login, and shows you the entries in the order Windows process them." – Microsoft [3]
With over 326,000 downloads and a 4/5 rating from CNET users [3], Autoruns is a detailed tool for managing startup programs. It helps you:
- Identify unsigned or suspicious startup entries.
- Manage browser extensions and shell add-ons.
- Control system services and scheduled tasks.
- Monitor registry autostart entries.
Warning: Be cautious when using Autoruns. Disabling critical processes could cause system instability.
| Startup Management Tool | Best For | Key Features |
|---|---|---|
| Task Manager | Beginners | Simple program control and startup impact info |
| Autoruns | Advanced Users | Detailed startup insights and unsigned file detection |
Step 3: Keep Software Current
Outdated software and drivers can slow down your system and leave it vulnerable to security threats. Updates help fix bugs, improve performance, and patch potential risks.
Check Windows Updates
For Windows users, keeping your system updated is straightforward:
- Windows 11: Open Start > Settings > Windows Update. Click "Check for updates" and install any available updates.
- Windows 10: Open Start > Settings > Update & Security > Windows Update. Click "Check for updates" and install any available updates.
You can also set active hours in Windows Update to avoid interruptions while working.
"It is critical to install security updates to protect your systems from malicious attacks. In the long run, it is also important to install software updates, not only to access new features, but also to be on the safe side in terms of security loop holes being discovered in outdated programs." – Zunesis [5]
By keeping your operating system updated, you can maintain system stability and improve overall performance.
Step 4: Check for Malware
After updating your software, it’s time to scan for malware. Malware can slow down your PC and put your security at risk, so tackling it is essential for keeping your computer in good shape.
Use Windows Defender

Windows Defender, the built-in security tool from Microsoft, is a reliable option for detecting and removing malware. Here’s how to run a scan:
Quick Scan
Open Windows Security from the Start menu and go to "Virus & threat protection." Click on "Quick scan" to scan common areas where malware might hide.Custom Scan
Under "Scan options" in Windows Security, choose Full, Custom, or Offline scan. Select the locations you want to check and click "Scan now."
To stay secure, make sure real-time protection is turned on in Windows Security. Also, regularly update your security intelligence through the "Protection updates" section.
For added peace of mind, you might want to pair Windows Defender with another security program.
Add Extra Security Software
While Windows Defender covers the basics, additional software can provide more advanced features. There are many available security products available for consumers and business users, many of which are frankly only available to generate subscription sales without any real meaningful benefit to the end user. There are some antivirus and security software solutions that we recommend very highly, but each technician likely has their own particular recommendation so if you would like some help, we highly recommend that you contact your local approved Computer Repair Man technician for advice on security software.
Step 5: Reduce Visual Effects
After securing your system, the next step is to tweak visual effects. These effects, like animations and shadows, can drain system resources and slow down your PC – especially if you’re working with limited RAM. Adjusting these settings can free up resources and improve overall performance.
Set Performance Mode
Here’s how to enable Performance Mode to streamline visual settings:
- Access Performance Options: Press the Windows key + R, type
sysdm.cpl, and hit Enter. In the System Properties window, go to the Advanced tab and click on Settings under the Performance section. - Optimize for Performance: In the Visual Effects tab, select Adjust for best performance. This disables most visual effects.
- Save Changes: Click Apply, then restart your PC.
This method works well for older systems or when you need extra power for tasks like gaming or video editing [8].
Customize Visual Effects
If you prefer a more balanced approach, you can manually adjust individual settings to match your PC’s capabilities. Windows offers 17 visual effects you can toggle [9]. Here’s a quick guide:
| PC Type | Suggested Settings | Performance Impact |
|---|---|---|
| Low-End PC | Enable only smooth font edges | Best performance boost |
| Mid-Range PC | Disable animations, fades, and shadows | Balanced performance |
| High-End PC | Adjust based on personal preference | Minimal performance loss |
For mid-range PCs, turning off features like menu fades and window shadows strikes a good balance between appearance and speed [10].
Start by enabling Performance Mode, then reintroduce any visual elements you find essential for your workflow.
Up next: Organize your drive to further boost your system’s performance.
Step 6: Organize Your Drive
Improving your drive’s performance is an important step in boosting your PC’s overall speed. However, the approach differs for HDDs and SSDs.
Fix Hard Drive Fragmentation
Fragmented files can slow down your hard drive, increasing access times and reducing performance.
To defragment your HDD:
Access the Defragmentation Tool
Open the Windows search bar, type "defrag", and select "Defragment and Optimize Drives."Check Fragmentation Levels
Choose your hard drive and click "Analyze." If the fragmentation level is over 10%, it’s time to defragment [11]. Fragmentation can lead to slower application launches, longer boot times, reduced data transfer speeds, and even system instability.Run Optimization
Click "Optimize" to begin defragmentation. Make sure to close any programs and plug in your PC before starting. For best results, schedule this process monthly.
Once your HDD is optimized, it’s time to focus on SSD maintenance.
Maintain SSD Performance
Unlike HDDs, SSDs should not be defragmented. Instead, use these methods to keep them running efficiently:
| Task | Purpose | How to Do It |
|---|---|---|
| Enable TRIM | Keeps performance consistent | Usually enabled by default on modern PCs |
| Keep Free Space | Prevents slowdowns | Leave at least 25% of the drive empty |
| Update Firmware | Enhances stability | Use tools from the drive’s manufacturer |
| Manage Temporary Files | Limits unnecessary write cycles | Store temp files on an HDD if possible |
"You will be overkilling your SSD when you defrag the drive. This defragging process is giving extra efforts to the drive, and that cause to degrade your SSD’s life." – Steve Kelly [12]
If your system has both an HDD and SSD, use them wisely. Store large media files on the HDD, while keeping your operating system and frequently used apps on the SSD. This setup boosts performance and helps extend your SSD’s lifespan.
Although Windows often handles drive optimization automatically, it’s still a good idea to monitor your drives regularly and address any issues as they arise.
Step 7: Upgrade PC Hardware
When software tweaks aren’t enough, upgrading your hardware can deliver a noticeable and lasting performance boost.
Add More RAM
Adding more RAM is one of the easiest ways to improve multitasking and overall speed. Here’s a quick guide to help you decide how much you need:
| Usage Type | Recommended RAM | Common Tasks |
|---|---|---|
| Basic Computing | 8GB | Web browsing, Office apps, light multitasking |
| Intermediate Use | 16GB | Casual gaming, photo editing, heavy multitasking |
| Professional Use | 32GB+ | Video editing, 3D rendering, virtual machines |
For best results, install RAM in matched pairs and ensure compatibility with your motherboard. Check your system’s documentation to confirm the maximum supported RAM and the type it requires.
Upgrade to an SSD
Switching to an SSD can make your PC feel brand new. SSDs significantly reduce boot times – often under 10 seconds – and provide faster file transfers. Plus, since they have no moving parts, they’re more reliable than traditional hard drives [13].
When selecting an SSD, consider these factors:
- Storage Capacity: Choose based on your storage needs, such as 500GB for general use or 1TB+ for larger files.
- Interface Type: SATA III drives are common, but NVMe drives offer even faster speeds.
- Brand Reputation: Look for trusted names like Samsung, Western Digital, or Crucial.
Upgrade or Replace?
If your PC is less than 4 years old and the upgrade costs are under 50% of a new system’s price, upgrading is often the smarter choice [15]. Use tools like PCPartPicker to ensure your new components are compatible with your current setup [14].
However, if you’re facing multiple hardware upgrades or your system is outdated, replacing your PC might be more cost-effective in the long run. If you’re not confident in handling the installation yourself, professional help is always an option. A well-planned hardware upgrade can breathe new life into your PC, but sometimes, starting fresh with a new system is the better investment.
Keep Your PC Running Fast
Once your PC is optimized, keeping it in good shape requires regular upkeep. A consistent maintenance routine can help sustain its performance. Here’s a simple timeline to follow for key tasks:
| Frequency | Task | Why It Matters |
|---|---|---|
| Weekly | Run antivirus scans, back up data | Protects against malware, prevents data loss |
| Monthly | Run Disk Cleanup, defragment HDDs | Frees up space, improves file access speed |
| Quarterly | Update passwords, clean hardware | Boosts security, keeps system clean |
| Semi-annually | Deep-clean system, organize files | Keeps performance steady, avoids clutter |
For added convenience, consider automating some of these tasks. Tools like Tweaking.com’s Windows Repair Toolbox can handle the basics for free, while the Technicians Toolbox ($19.95) unlocks more advanced options [17].
To extend your PC’s lifespan, focus on good hardware care. Improve airflow, tidy up cables, keep your workspace clean, avoid spills, and store large files in the cloud to free up drive space. These small steps can make a big difference!
sbb-itb-1b8c0f9